
How to Install Architectural Shingles (Explained in 7 Steps)
![]() 09/02/25
09/02/25
![]() 6 Min Read
6 Min Read
If you’ve ever wondered how to install architectural shingles, you’re not alone. Architectural shingles are one of the most popular roofing choices among homeowners because of their durability, attractive design, and long-lasting performance. While installing architectural shingles is a job best handled by professionals for safety and warranty reasons, understanding the roof replacement process can help you feel confident about what to expect.
Here are three important things to know before diving into the installation steps:
- Safety matters: Roof installation involves heights, tools, and materials that require training to handle correctly.
- Preparation is key: A well-prepped roof deck and underlayment create the foundation for shingles to perform as intended.
- Professional expertise pays off: Hiring a qualified roofing contractor ensures the job is done right the first time.
✅ Why Choose Architectural Shingles?
Before exploring the installation process, it’s worth understanding why architectural shingles are such a popular option compared to traditional 3-tab shingles. Their enhanced design, durability, and appearance make them a top choice for homeowners who want both function and curb appeal.
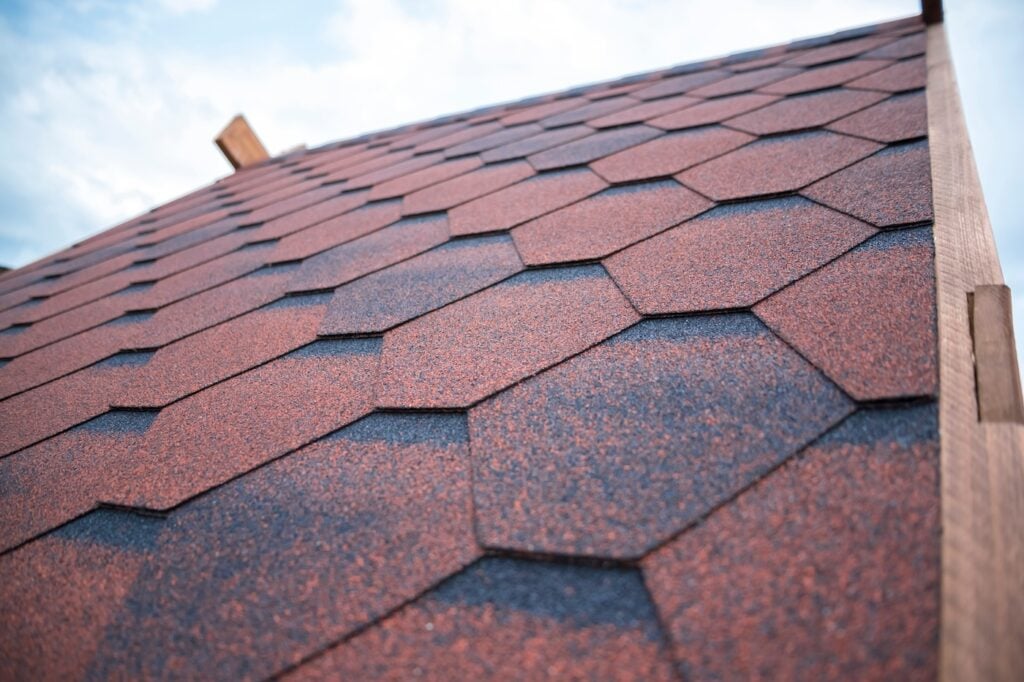
- Durability: Architectural shingles are thicker and layered, which makes them better equipped to resist wind, hail, and heavy rain. Many are rated to withstand winds up to 110 mph or more.
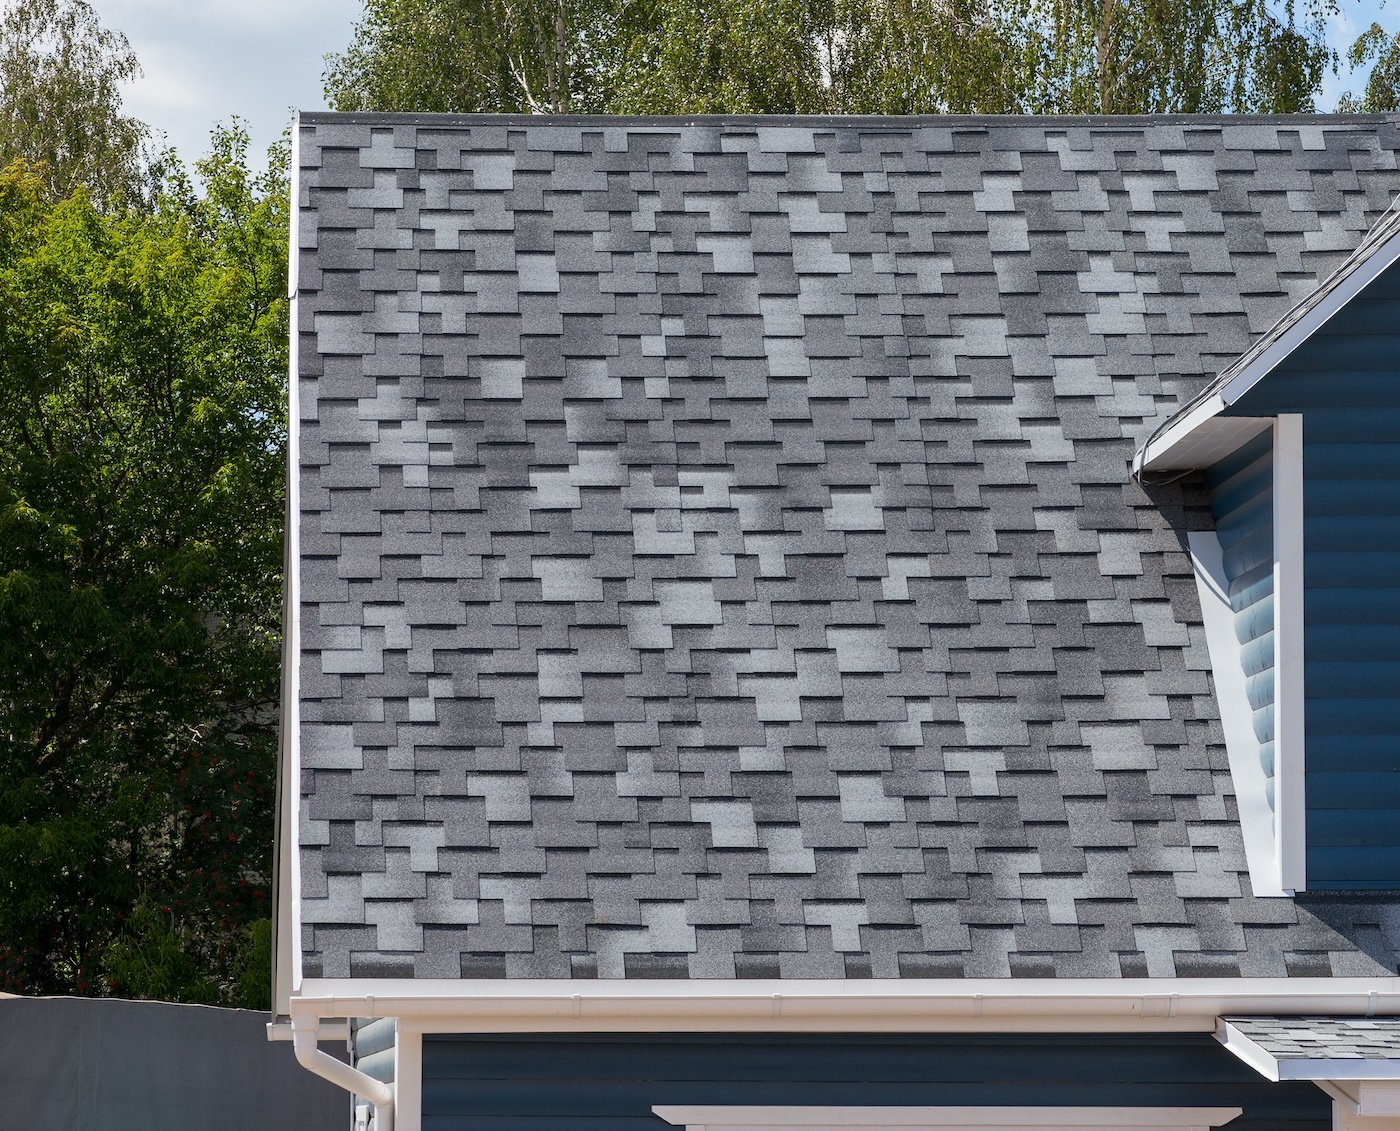
- Aesthetic appeal: Their dimensional design creates a textured look that boosts curb appeal and can mimic slate or wood shake.
- Longevity: With proper installation, architectural shingles can last 25 to 30 years, often outlasting standard shingles by a decade.
- Energy efficiency: Some shingles feature reflective technology to reduce heat absorption, helping cut cooling costs.
- Value: They balance cost and performance, giving homeowners an upgrade without the high price tag of luxury roofing materials.
By choosing architectural shingles, you’re investing in a roofing system that protects your home while adding beauty and value. Our roofing experts in Newark, DE provide professional installation designed for long-term durability and curb appeal.
📋 7 Steps to Install Architectural Shingles
Here’s a breakdown of the steps roofing crews follow when installing architectural shingles on a home. Each stage is designed to protect your property, ensure proper performance, and create a roof that will last for decades.
1. Removing the Old Roof
The first step is tearing off the old roofing materials. Crews strip away shingles, nails, and underlayment, disposing of them in a dumpster or trailer. This step exposes the roof deck so it can be inspected and repaired if needed.
- Thorough tear-off: Ensures no weak or damaged materials remain.
- Proper disposal: Keeps the worksite safe and organized.
2. Inspecting and Preparing the Roof Deck
Once the roof is bare, contractors check the roof deck for water damage, rot, or soft spots. Any compromised areas are replaced with new plywood. A flat, stable surface is essential for architectural shingles to perform as designed. Read our guide on should I stay home during roof replacement to prepare for your upcoming installation.
- Deck repairs: Prevent future sagging or leaks.
- Stable foundation: Supports the weight of architectural shingles.
3. Installing Drip Edge and Underlayment
With the roof deck ready, protective materials are installed. A drip edge is secured along the eaves and rakes to guide water away. Then, underlayment is rolled across the entire roof to add a moisture barrier. Ice and water shields may also be added in valleys or vulnerable spots. Trust our roofing team in Wilmington, DE to handle every detail with precision.
- Drip edge: Prevents water from seeping into decking edges.
- Underlayment: Serves as a backup barrier against leaks.
4. Marking Guidelines and Starter Shingles
Roofers use chalk lines to create straight guides across the roof deck. A row of starter shingles is then installed along the eaves. These provide a secure edge and help protect against wind uplift.
- Straight guidelines: Keep architectural shingles even.
- Starter course: Reinforces the roof’s most vulnerable areas.
5. Installing the Architectural Shingles
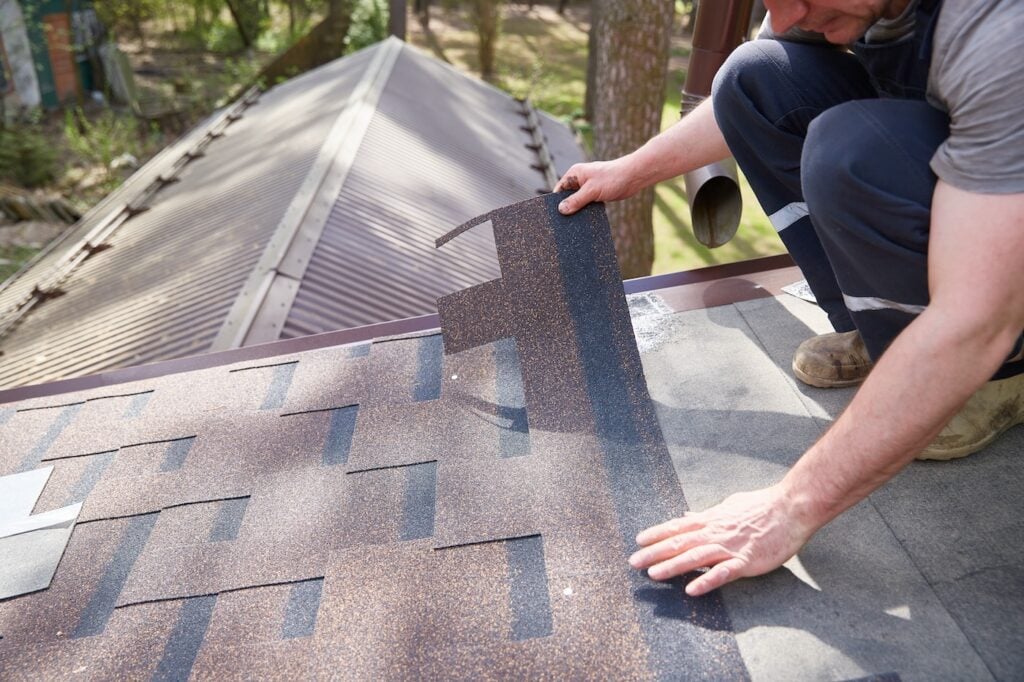
The main installation begins. Architectural shingles are nailed in overlapping rows, starting at the bottom and working upward. Contractors follow manufacturer guidelines for nail placement and sealing.
- Correct nailing: Keeps shingles secure during storms.
- Layered design: Creates the dimensional appearance homeowners love.
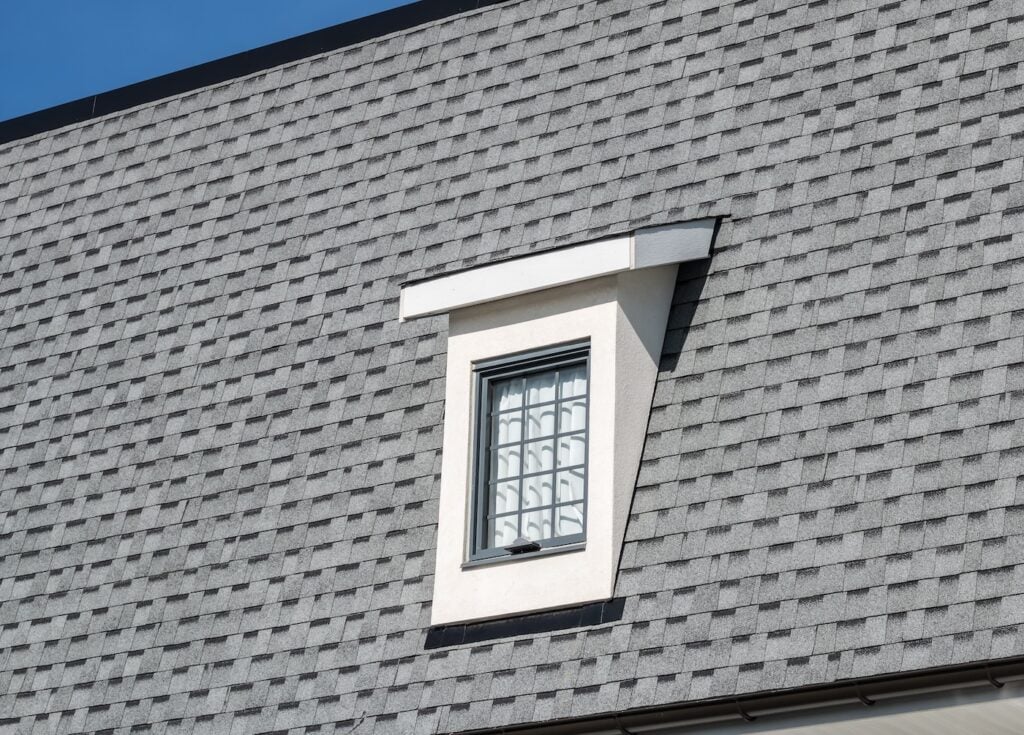
6. Adding Flashing and Ridge Caps
Flashing is installed around chimneys, skylights, and vents to prevent leaks. At the roof’s peak, ridge caps are added to cover seams and promote ventilation. Learn more about why proper roof flashing is one of the most critical components of a long-lasting roofing system.
- Flashing: Shields roof penetrations from water intrusion.
- Ridge caps: Seal and ventilate the roof’s highest point.
7. Final Cleanup and Inspection
The last step ensures the roof and property are in top condition. Crews gather debris, run magnets across the yard for nails, and inspect the entire roof system.
- Debris removal: Leaves your yard clean and safe.
- Quality inspection: Confirms the shingles and roof deck meet installation standards.
🏠 What Homeowners Should Expect
Knowing what happens during architectural shingle installation helps you prepare:
- Noise: Expect hammering, nail guns, and movement across the roof deck. This can create noticeable vibrations inside the home.
- Driveway and yard use: Crews need space for dumpsters, trucks, and ladders. Plan to move vehicles and outdoor furniture in advance.
- Timeline: Most homes take one to three days, though larger or more complex roofs may require more time. Weather can also affect scheduling.
- Clean-up process: A reputable contractor leaves your home safe, free of nails, and looking like the job never happened.
🛠️ Why Professional Installation Matters
Even though the steps seem straightforward, installing architectural shingles requires expertise. Hiring professionals ensures:
- Warranty protection: Many manufacturers only honor warranties if shingles are installed by certified contractors.
- Experience and training: Crews know how to handle issues like hidden leaks, rotted decking, or improper ventilation.
- Safety: Roofing requires working at heights with heavy materials—something best left to trained experts.
- Efficiency: A professional crew can complete in days what might take a DIYer weeks.
- Long-term savings: Proper installation prevents early failures, protecting your investment for decades.
Homeowners seeking certified and experienced roofing contractors in Middletown, DE can count on CTA Exteriors for reliable installation and guaranteed protection.
⭐️ Trust CTA Exteriors for Professional Roof Installation
Now that you know how to install architectural shingles, it’s clear why this project is best left to the experts. Every step, from preparing the roof deck to laying ridge caps, affects your roof’s durability and performance.
CTA Exteriors delivers professional results homeowners can count on. We use top-quality materials, follow best practices, and ensure your new roof adds both beauty and protection. Our team treats every project with care, so you can enjoy peace of mind knowing your home is covered.
If you’re ready to upgrade your roof in Delaware or the surrounding areas, contact CTA Exteriors today. We’ll provide a detailed inspection, guide you through your options, and deliver an installation built to last for decades.
